Object detection with Fizyr Retinanet

In this article, we will train Fizyr Retinanet. It is discovered that there is an extreme foreground-background class imbalance problem in the one-stage detector. And it is believed that this is the central cause which makes the performance of one-stage detectors inferior to two-stage detectors
In RetinaNet, a one-stage detector, by using focal loss, the lower loss is contributed by “easy” negative samples so that the loss is focusing on “hard” samples, which improves the prediction accuracy.
For this tutorial, we will be using Keras RetinaNet implementation by fizyr
We will follow the steps below:
- Label image dataset using HyperLabel
- Export labeled dataset in Pascal VOC format
- Create annotations and classes CSV file from Pascal VOC data
- Train our model
- And finally, perform inference on images
Label image dataset using HyperLabel
To identify and mark the objects in a given image we need to draw a bounding box around it. This will provide us 4 coordinates and these coordinates will be used by machine learning scripts to identify the object and classify it.
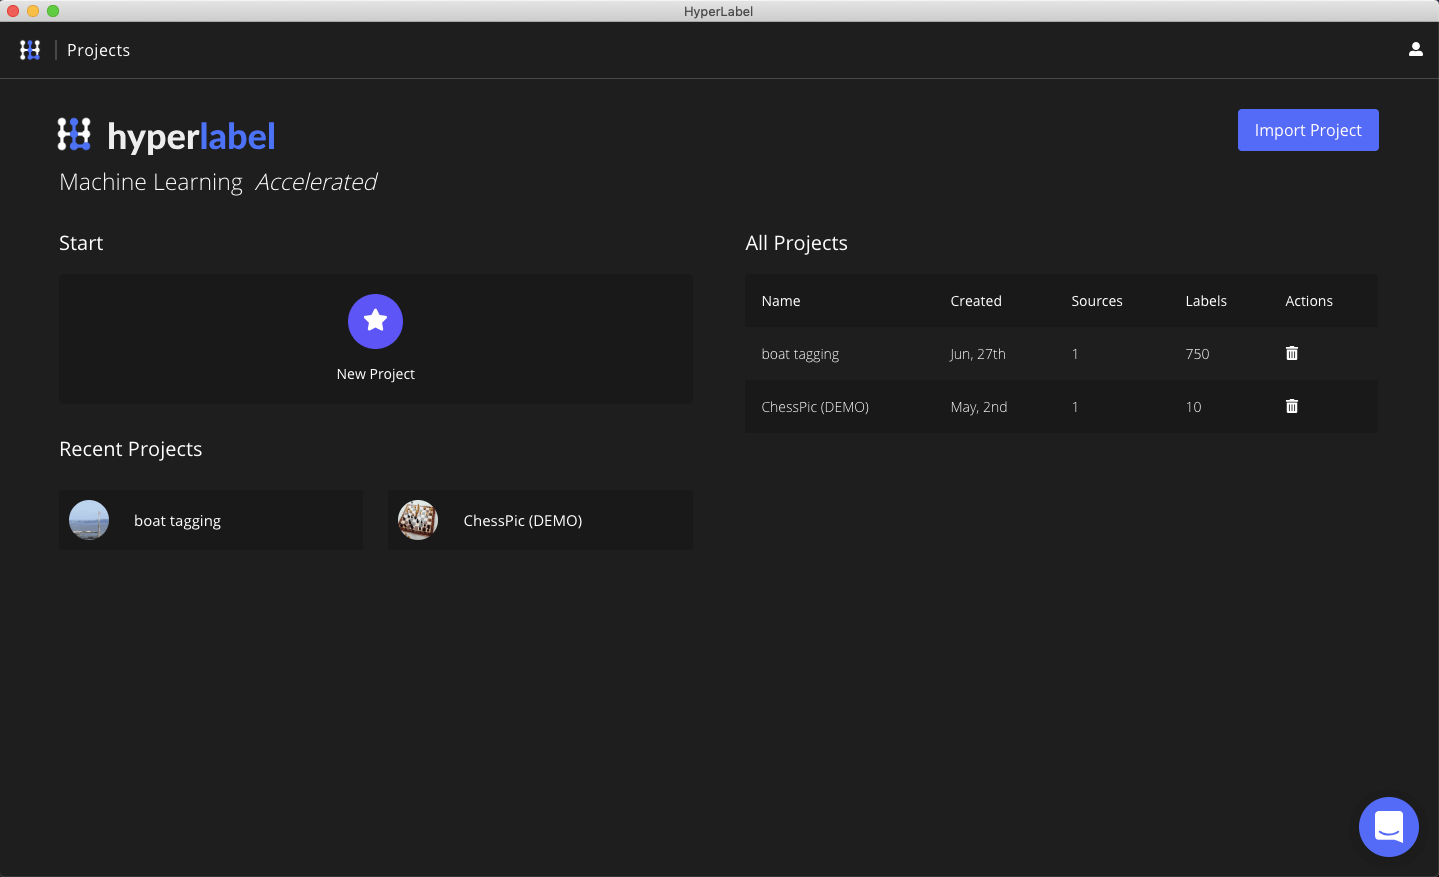
In this tutorial, we will be using HyperLabel

For this project, we will be using the following YouTube video from a shipping port and then we will extract the frames from the video using FFmpeg.
Or if you are feeling lazy to download the video and extract the images, don’t worry. You can download the extracted images directly from here
Download the video and then install FFmpeg (if not installed on your system).
Once, installed we need to extract the frames out of the video. We will be extracting the frames for the first 30 seconds. To do this, we need to run the following command in terminal
1
2
3
# {PATH-VIDEO-FILE}    -> the path to downloaded video file
# {DESTINATION-FOLDER} -> path to a local folder in which extracted frames will be saved
ffmpeg -i {PATH-VIDEO-FILE} -ss 00:00:00 -t 00:00:30 {DESTINATION-FOLDER}/output-%09d.jpg
Once the images are exported, its time to launch HyperLabel. You can watch the following tutorial video about how to use HyperLabel and tag images with it.
Once all of your images are tagged, its time to export the labels and data in Pascal VOC format. Goto the review tab/section and click on the export button. From the export menu, choose Object Detection and select Pascal VOC and click on export. It will take some time to export the data, once exported you should be able to see multiple folders, but we are interested in two i.e., Annotations and JPEGImages folder.

Now created a new folder, name it dataset. Copy all the contents of Annotations folder and JPEGImages folder inside dataset folder and then create a zip archive of this folder. Optionally, you can download the pre-made ZIP file from here
Upload this zip archive to your Google drive and get the file ID. To locate the File ID, right-click on the name of the file, choose the Get Shareable Link option, and turn on Link Sharing if needed (you can turn it off later). You will see the link with a combination of numbers and letters at the end, and what you see after id = is the File ID.
https://drive.google.com/open?id=***ThisIsFileID***
If your file is already open in a browser, you can obtain File ID from its link:
https://docs.google.com/spreadsheets/d/***ThisIsFileID***/edit#gid=123456789
Now its time to open Google Colab notebook or download the notebook from here
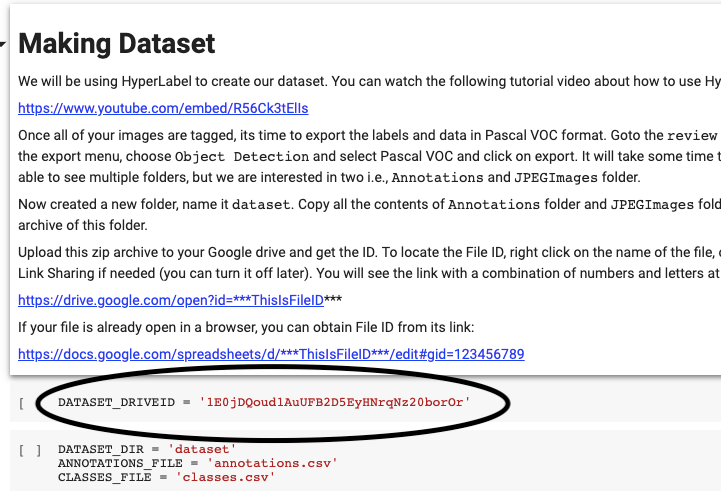
When you open the notebook, you should change the DATASET_DRIVEID value to your file ID.

Now run the notebook cells one by one from the top and train your model. It will take some time to train, meanwhile, you can sip some coffee or beer, as you wish.
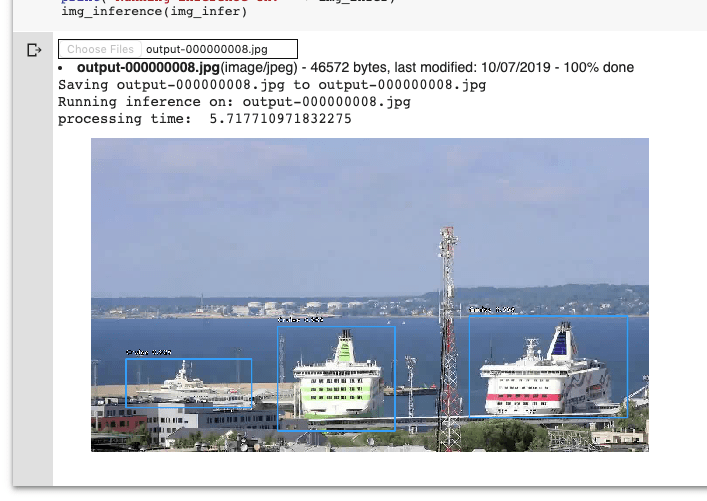
Once trained, you can run the inference and get the result. In my case, the result looks something like

Congratulations! You have trained your model.